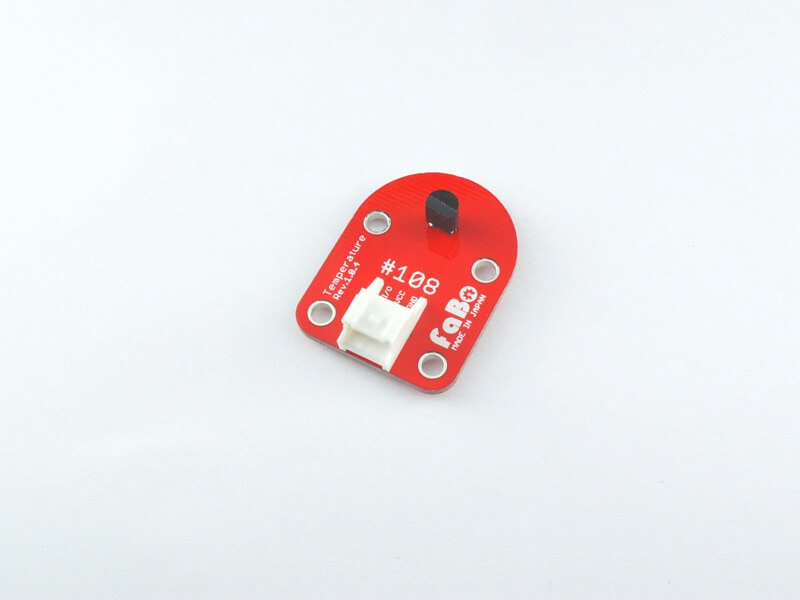
#108 Temperature Brick
Overview
温度を計測するBrickです。
アナログ値(0〜1023)を取得でき、変換することで−30度から100度までの温度を計測することができます。
Connecting
Arduino
アナログコネクタ(A0〜A5)のいずれかに接続します。

Raspberry PI
アナログコネクタ(A0〜A7)のいずれかに接続します。
IchigoJam
アナログ用コネクタ(IN2またはANA()で設定したコネクタ)のどれかに接続します。
Support
| Arduino | RaspberryPI | IchigoJam |
|---|---|---|
| ◯ | ◯ | ◯ |
LM61CIZ Datasheet
| Document |
|---|
| LM61CIZ Datasheet |
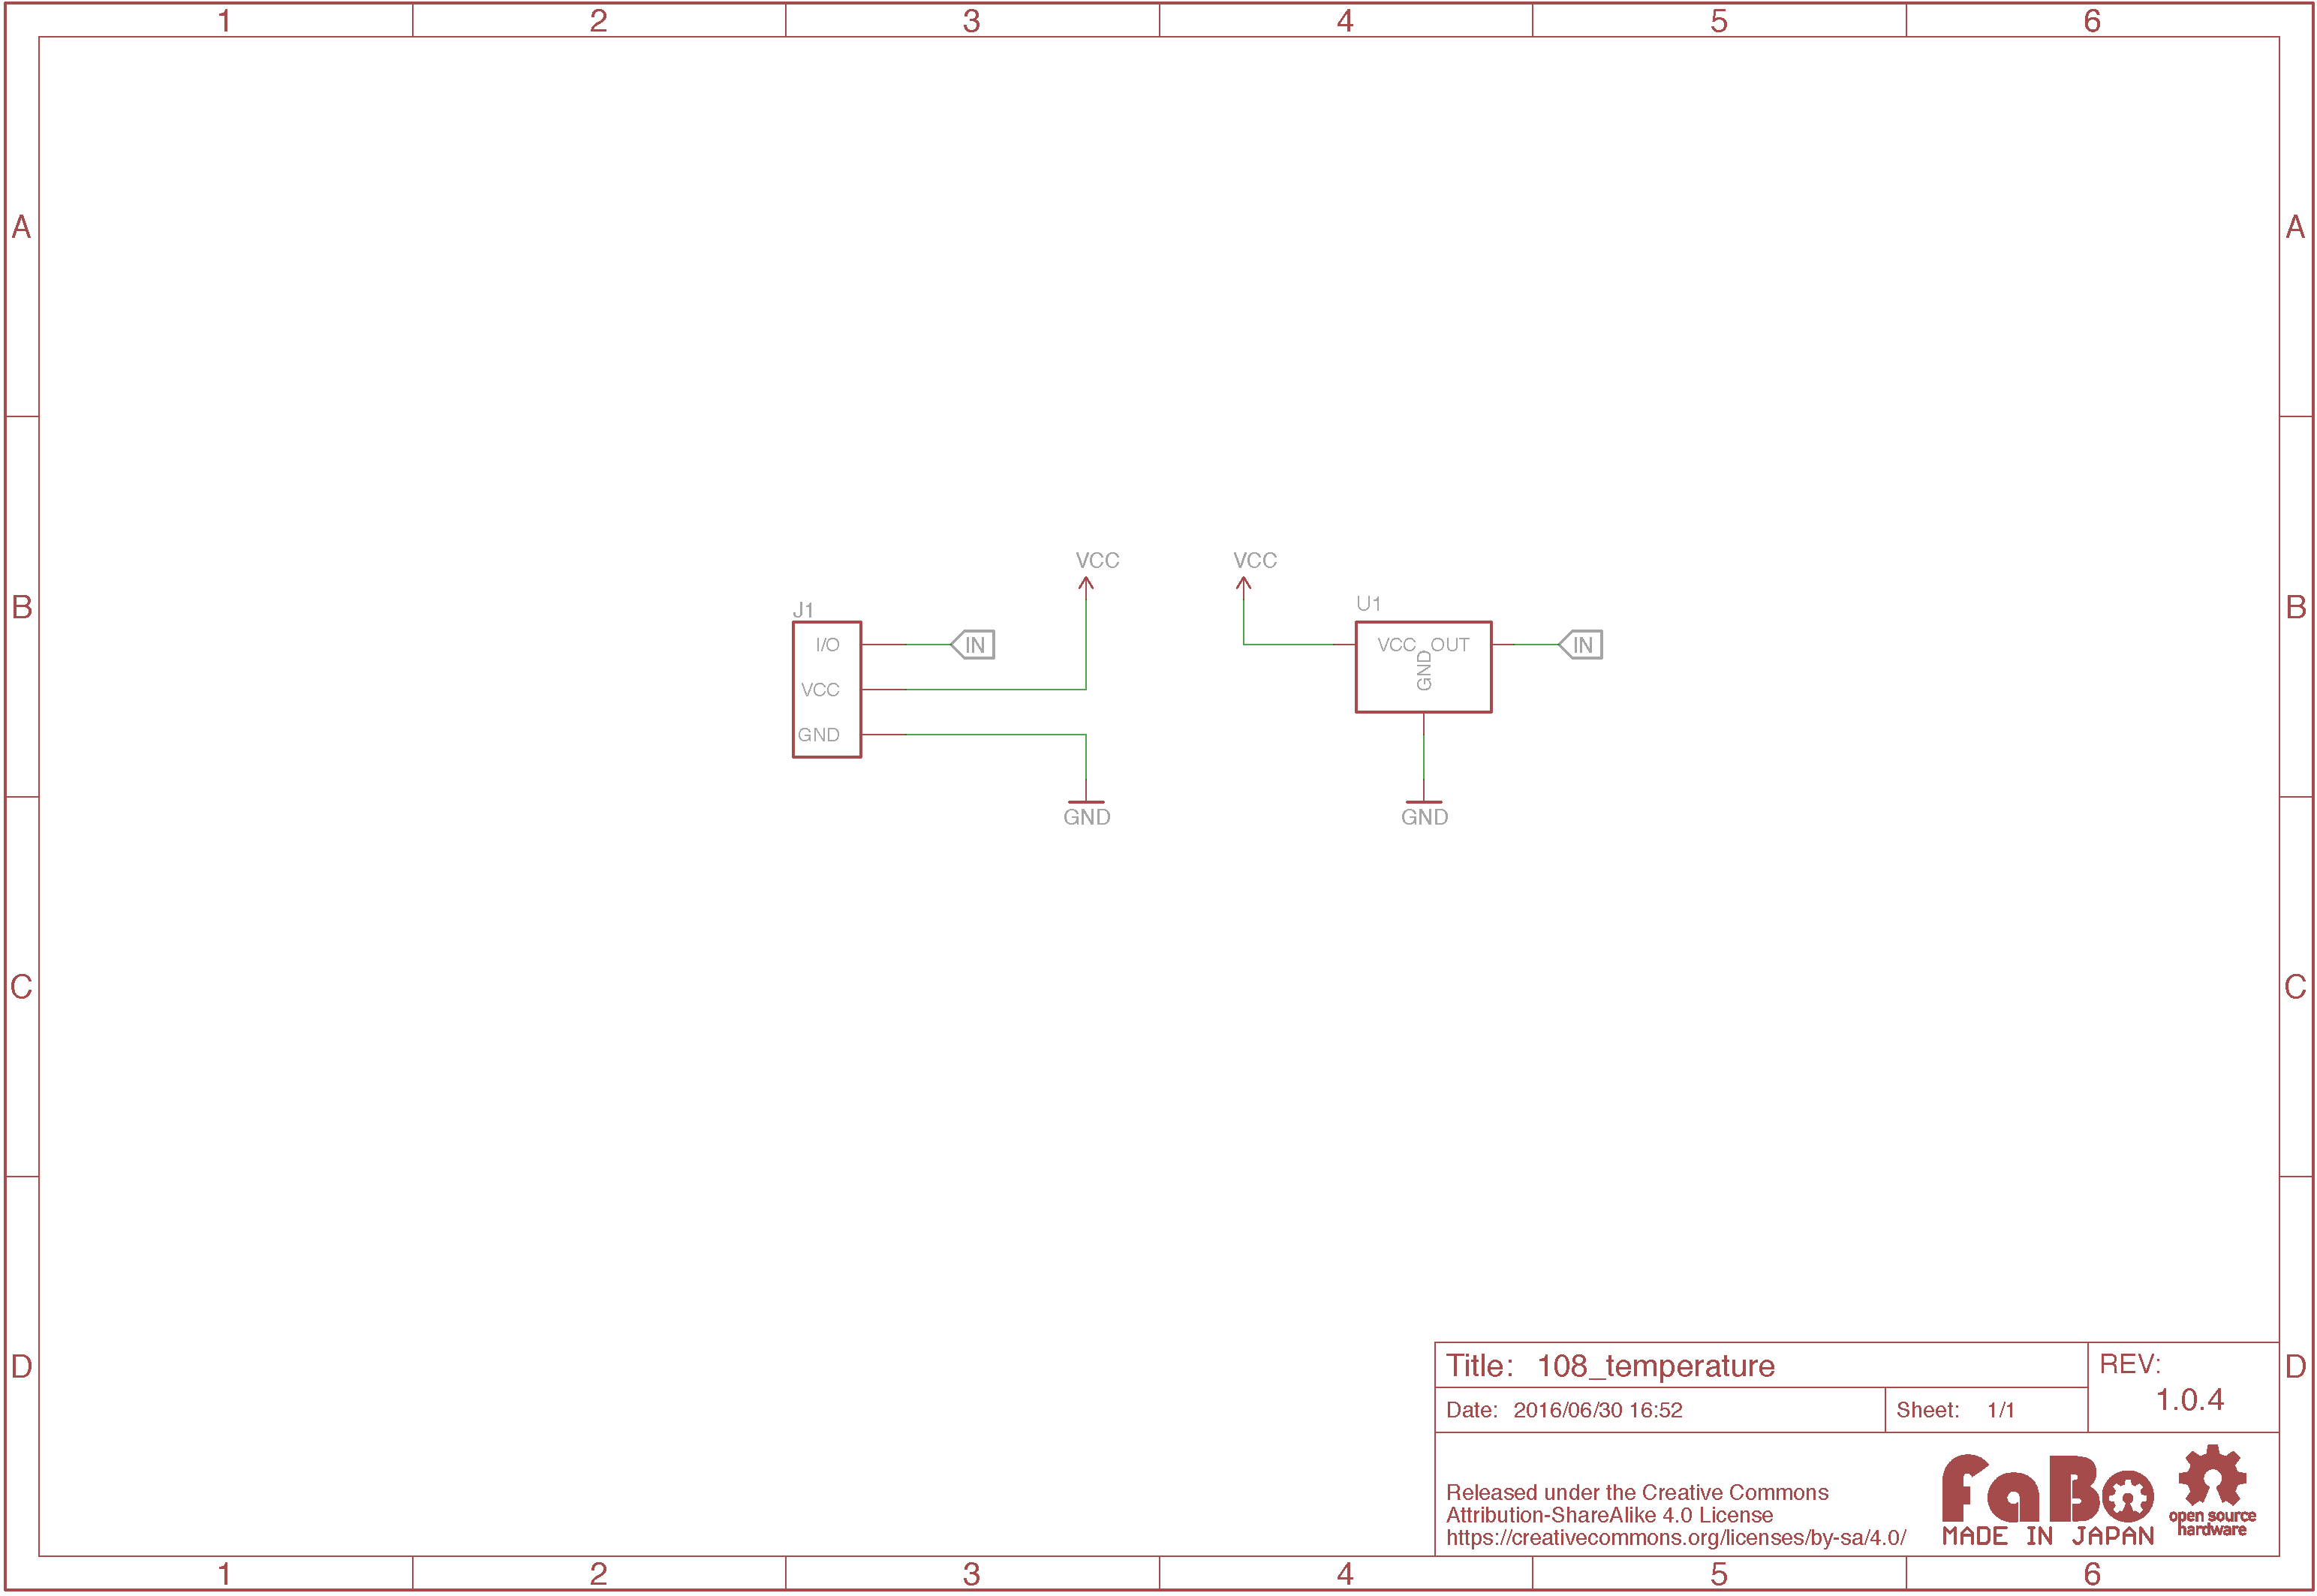
Schematic
Sample Code
for Arduino
A0コネクタにTemprature Brickを接続して、取得した温度をシリアルモニタへ出力します。
//
// FaBo Brick Sample
//
// #108 Temperature Brick
//

#define tempPin A0 // 温度センサーピン

int tempValue = 0; // 温度取得用

void setup() {
  // 温度センサーピンを入力用に設定
  pinMode(tempPin, INPUT);

  // シリアル開始 転送レート:9600bps
  Serial.begin(9600);
}

void loop() {
  // センサーより値を取得(0〜1023)
  tempValue = analogRead(tempPin);

  // 取得した値を電圧に変換 (0〜5000mV)
  tempValue = map(tempValue, 0, 1023, 0, 5000);

  // 変換した電圧を300〜1600の値に変換後、温度に変換 (−30〜100度)
  tempValue = map(tempValue, 300, 1600, -30, 100);

  // 算出した温度を出力
  Serial.println(tempValue);

  delay(100);
}
出力データの確認方法
Serial.printlnなどで出力した内容はシリアルモニタを使用して確認します。
シリアルモニタはArduinoIDEのメニューより[ツール]->[シリアルモニタ]を選択することで起動できます。
Arduinoのコードを書く画面の右上にある虫メガネマークをクリックしても起動することができます。
 起動後、画面右下に転送レートを選択する箇所があるので、その箇所をコードに合わせて変更してください。
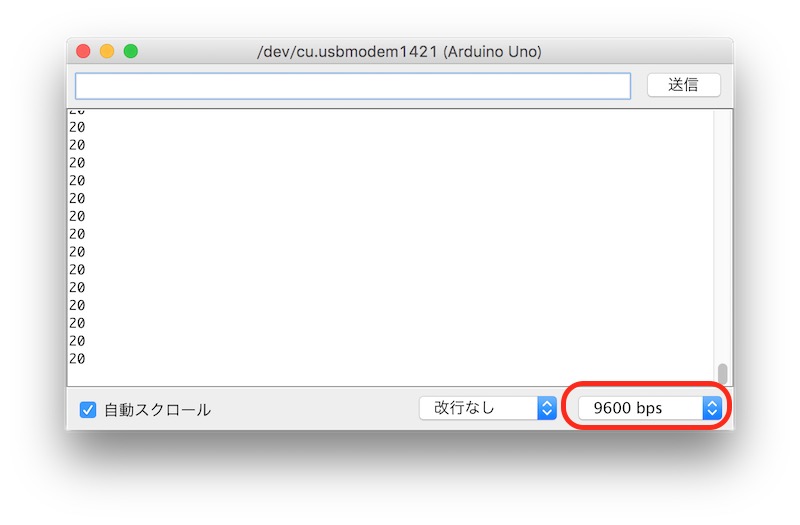
サンプルコードの転送レートを設定している箇所
Serial.begin(9600);
for Raspberry Pi
A0コネクタに接続したTemperature Brickにより温度を計測します。
#!/usr/bin/env python
# coding: utf-8

#
# FaBo Brick Sample
#
# #108 Temperature Brick
#

import spidev
import time
import sys

# A0コネクタにTemperatureを接続
TEMPPIN = 0

# 初期化
spi = spidev.SpiDev()
spi.open(0,0)

def readadc(channel):
    adc = spi.xfer2([1,(8+channel)<<4,0])
    data = ((adc[1]&3) << 8) + adc[2]
    return data

def arduino_map(x, in_min, in_max, out_min, out_max):
    return (x - in_min) * (out_max - out_min) // (in_max - in_min) + out_min

if __name__ == '__main__':
    try:
        while True:
            data = readadc(TEMPPIN)
            volt = arduino_map(data, 0, 1023, 0, 5000)
            temp = arduino_map(volt, 300, 1600, -30, 100)
            print("temp : {:8} ".format(temp))
            time.sleep( 0.5 )
    except KeyboardInterrupt:
        spi.close()
        sys.exit(0)
for IchigoJam
注意
アナログはIN2のみで数値取得可能です。
デジタルの場合はIN(2)、アナログの場合がANA(2)とします。
- デジタル
温度の変化によって0か1を返します。 - アナログ
温度の変化によって0から1023を返します。
100 'TEMP_sample_program
110 CLS
120 LOCATE 10,8:PRINT "Digital =";IN(2)
130 LOCATE 10,9:PRINT "Analog  =";ANA(2);"  "
140 GOTO 120
画面に数字が2つ表示されます。
それぞれリアルタイムで温度の変化で数値が変化します。
デジタル数値は寒いと0、暖かいと1に変化し、アナログ数値は寒いと小さい値(0に近づく)に、暖かいと大きい値(1023に近づく)に変化します。
for Edison
A0コネクタにTemprature Brickを接続し、取得した温度をコンソールへ出力します。
//
// FaBo Brick Sample
//
// #108 Temperature Brick
//

//library
var m = require('mraa');

//pin setup
var temp_pin = new m.Aio(0); //temp sensor pin A0

//call loop function
loop();

function loop()
{

  var value = temp_pin.read()
  value = value * 5000 / 1023;
  value = (value - 300) * (100-(-30)) / (1600 - 300) + (-30);
  var temp_value = Math.round(value*10)/10;

  console.log('temp: ' + temp_value);

  //100 milliseconds
  setTimeout(loop,100);
}
Parts
- IC温度センサ LM61CIZ